
STEP 1
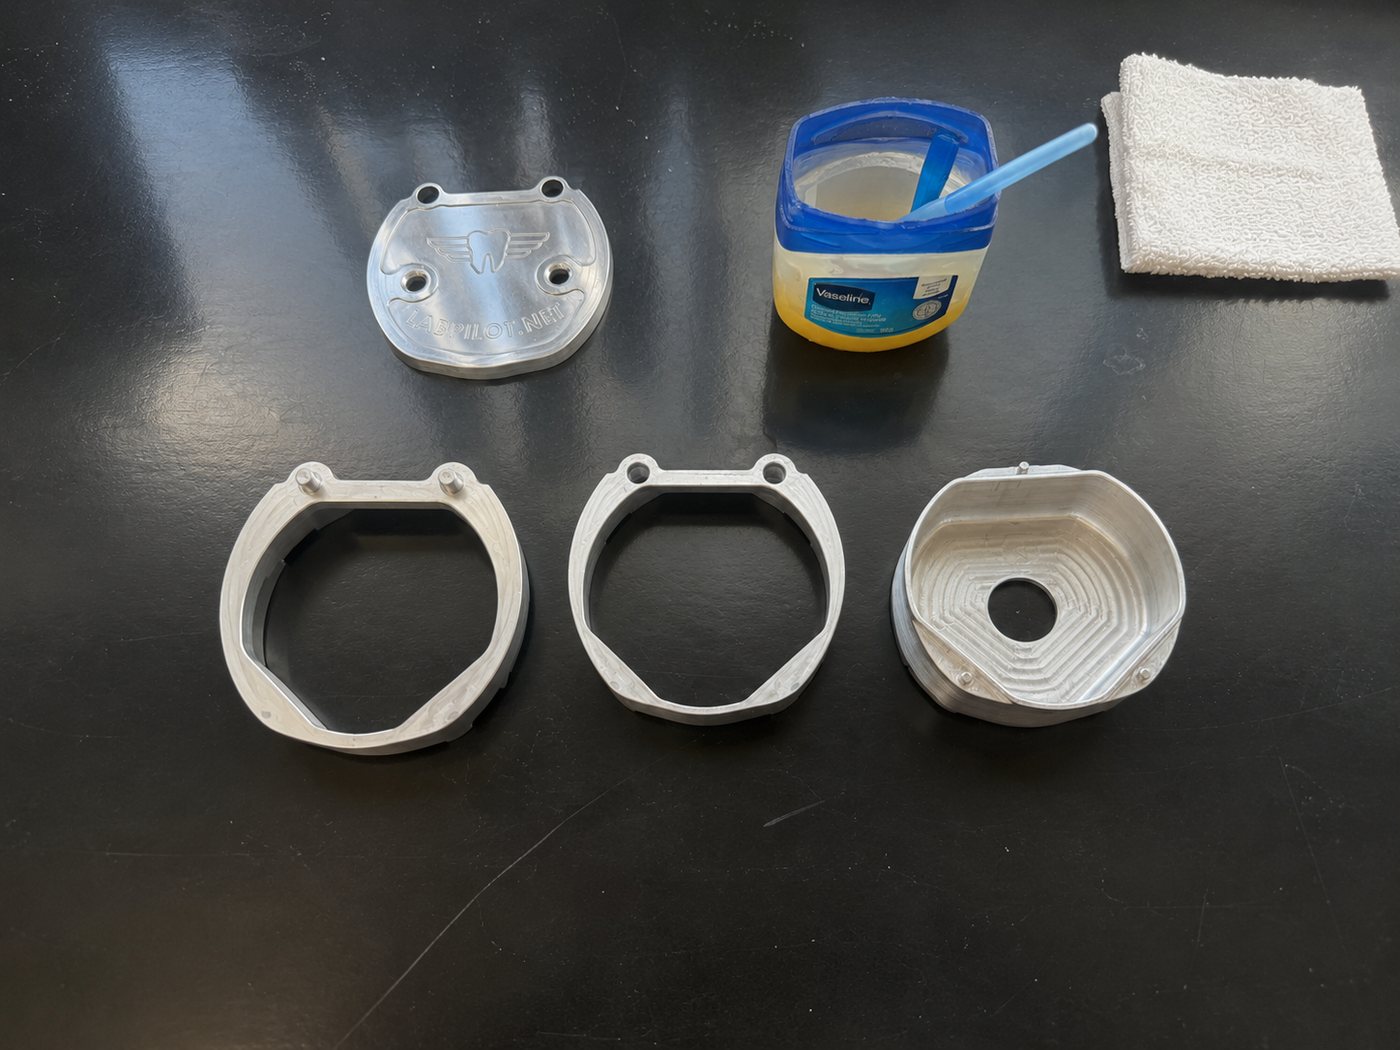
Gather all flask components.

Instruction Manual
Cold Cure
Flask, scan, and upload, then add flowable acrylic and mill.
STEP 1
Gather all flask components.
STEP 2
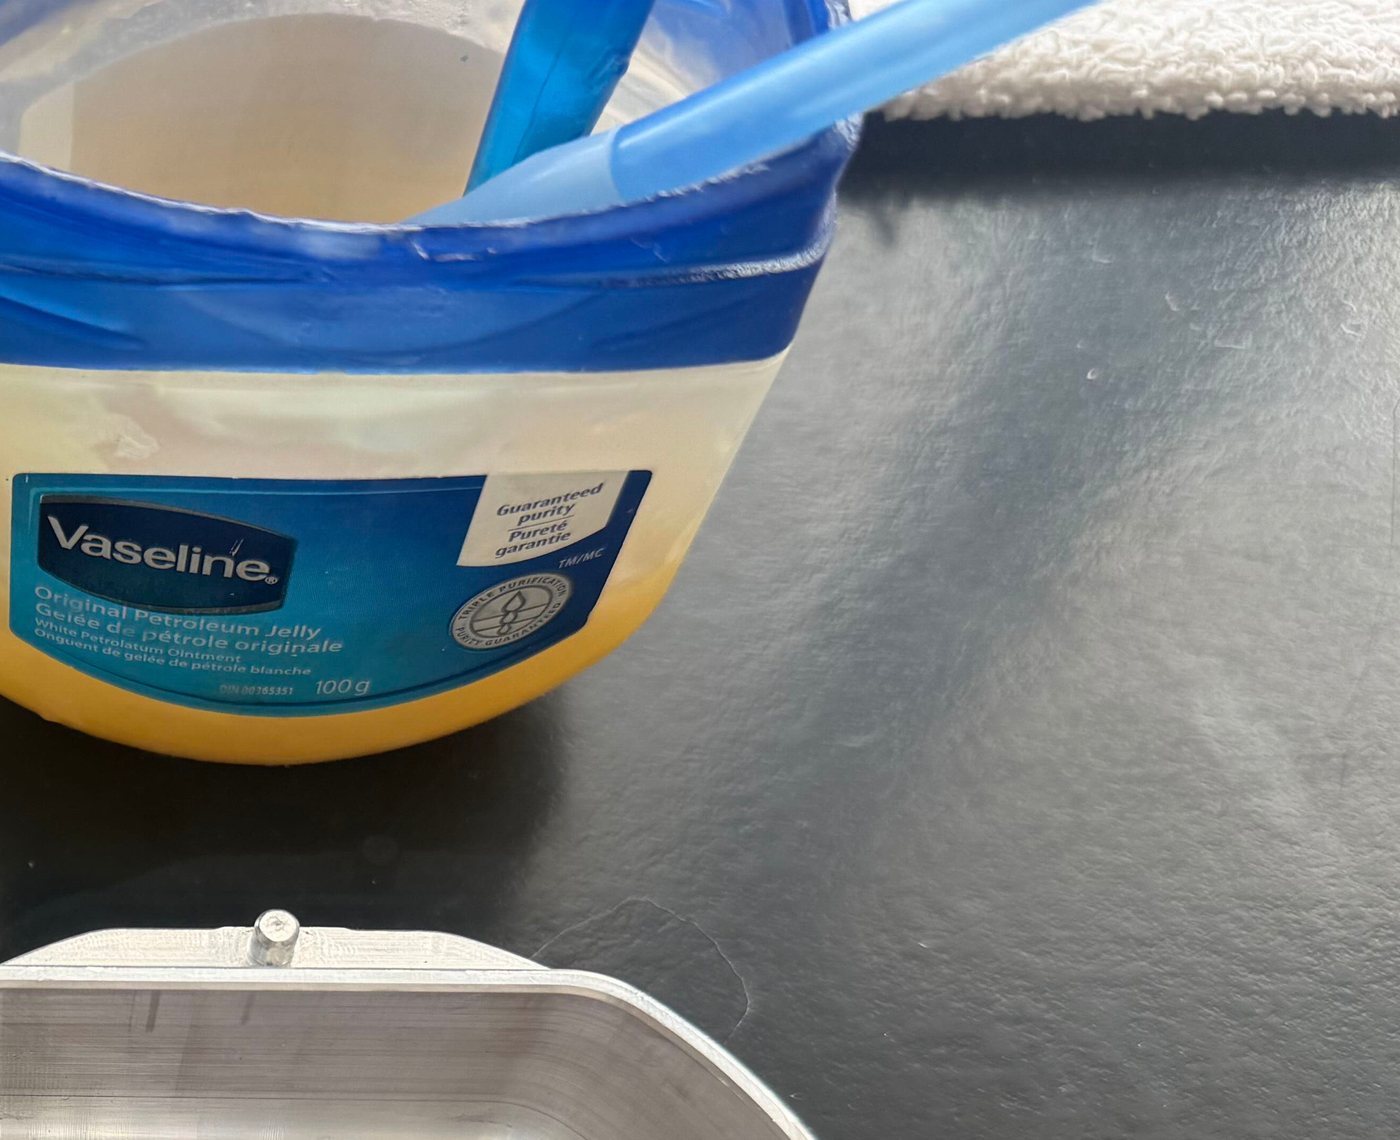
Prepare the internal surfaces with Vaseline.
STEP 3
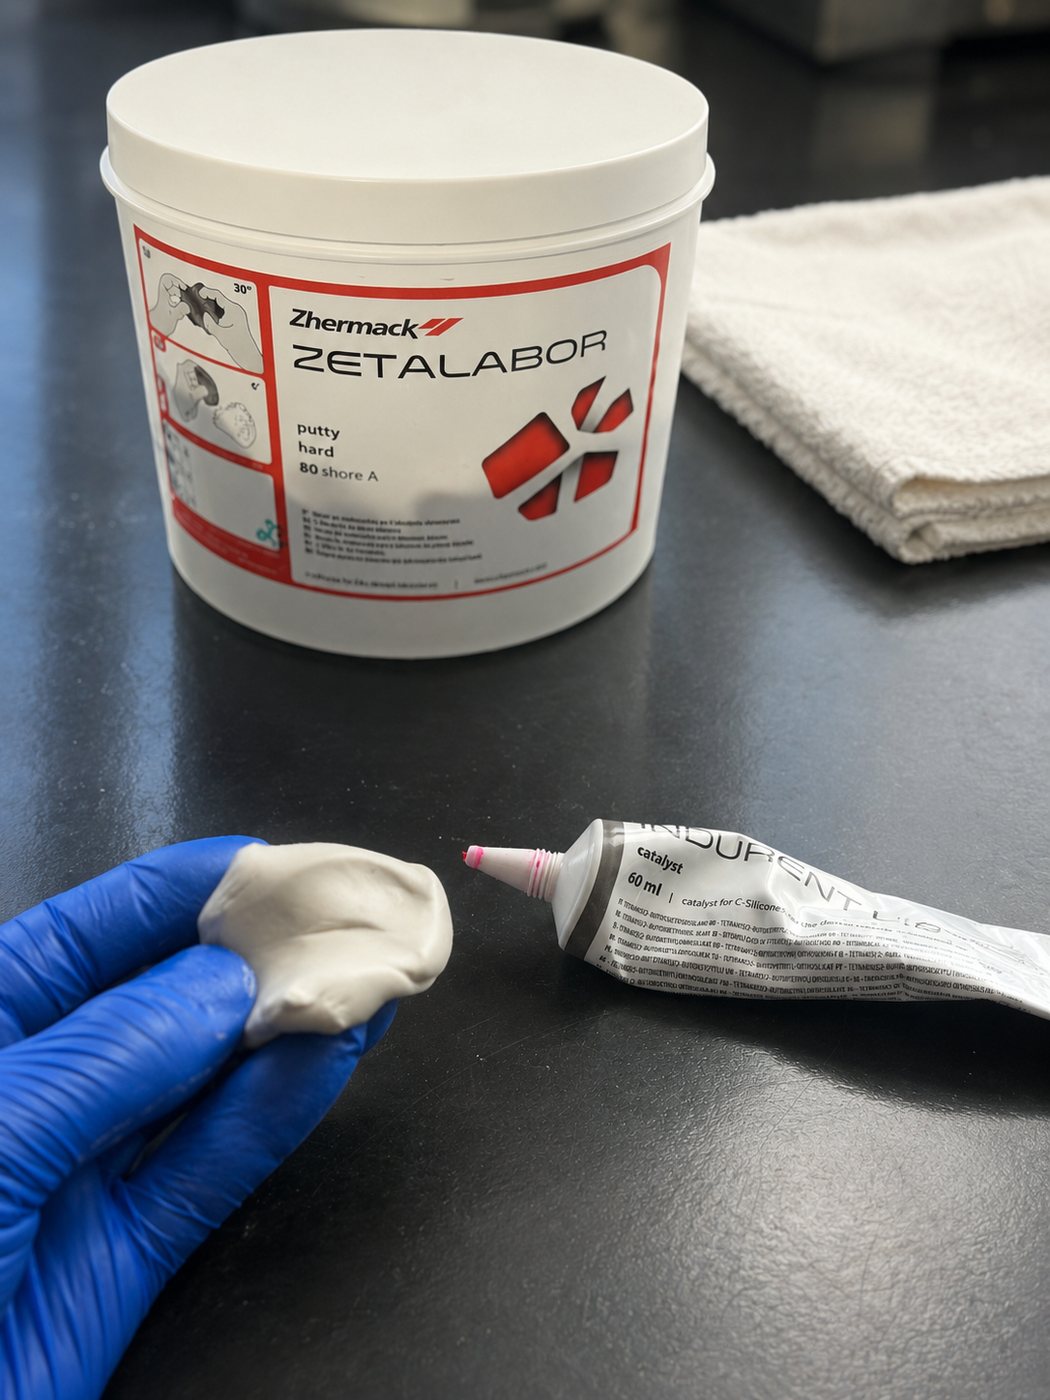
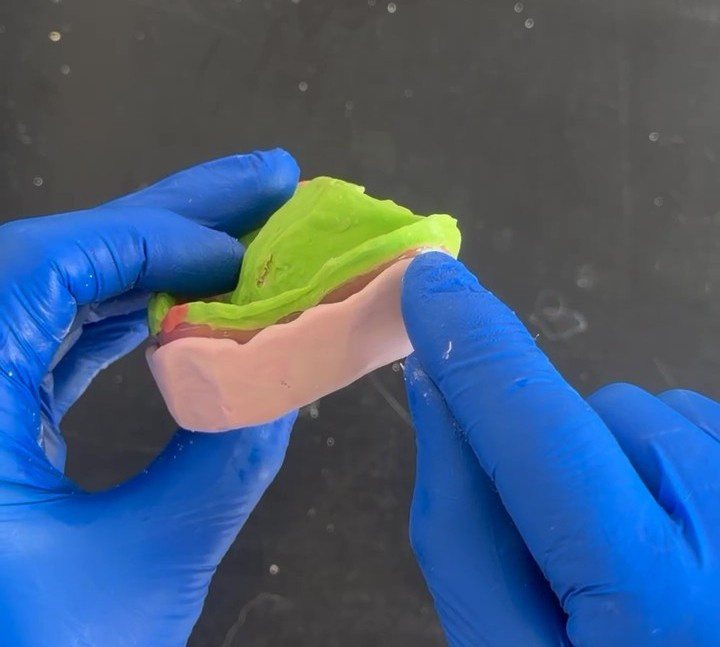
Protect the teeth/prosthetic with Lab Putty (recommended).
STEP 4
Mix the plaster and/or stone according to manufacturer instructions.
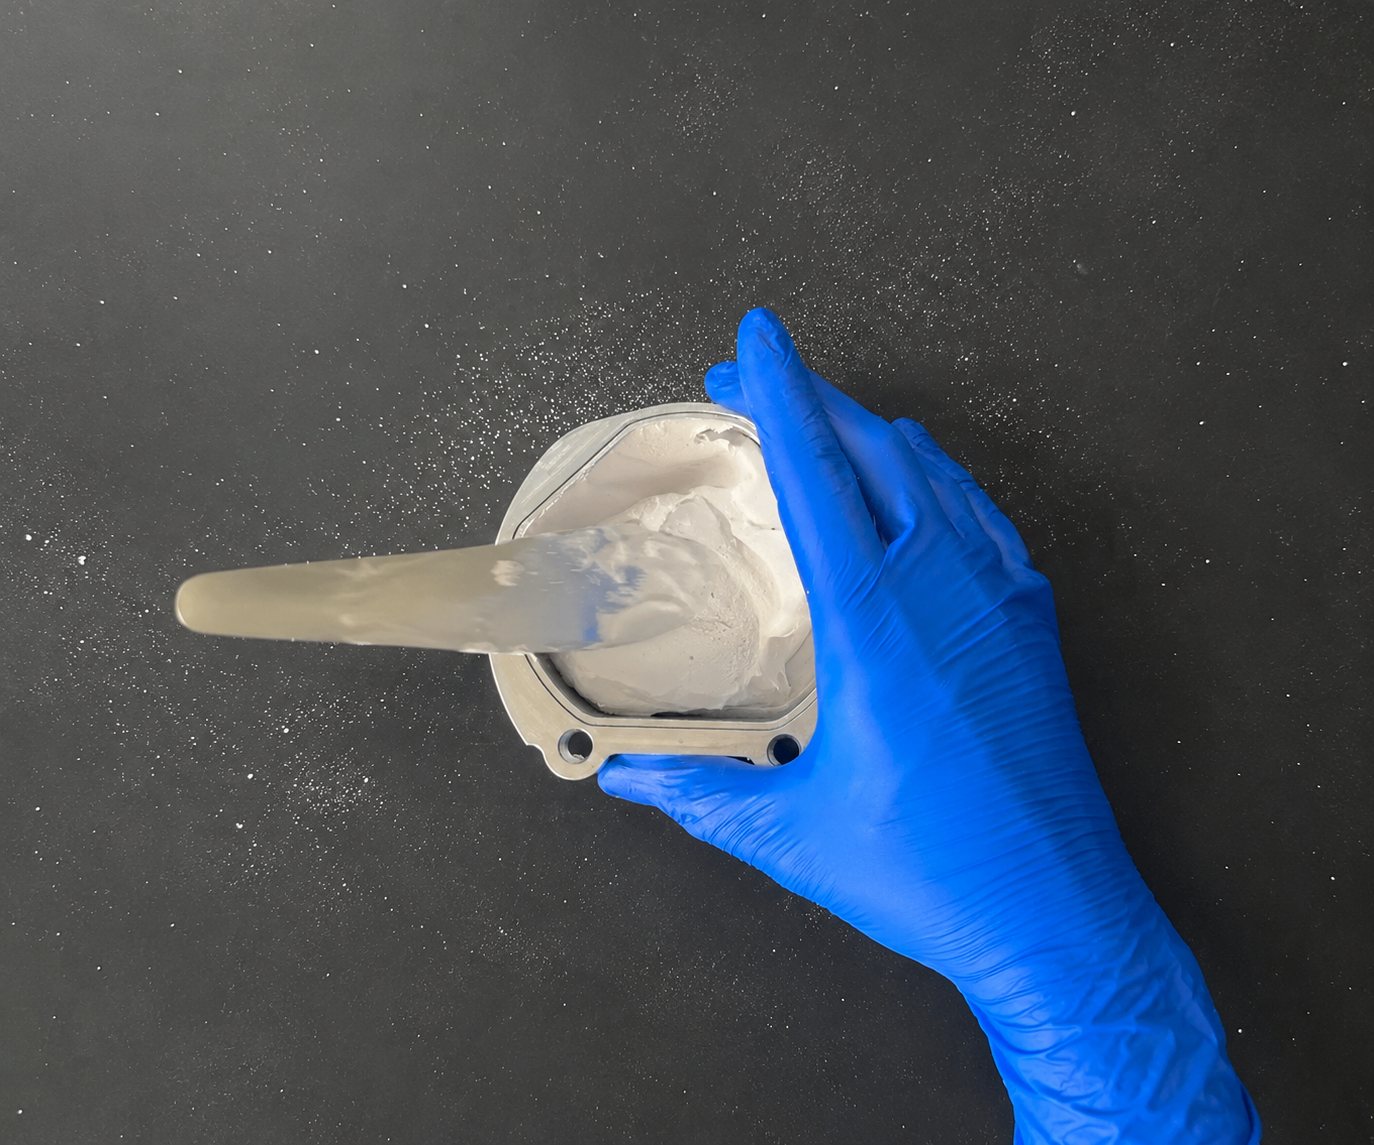
STEP 5
Place the Flask Adapter onto the Flask Base.
STEP 6
Fill the Flask bottom with plaster/stone.
STEP 7
Position the prosthetic tissue-fitting surface facing upward inside the flask.
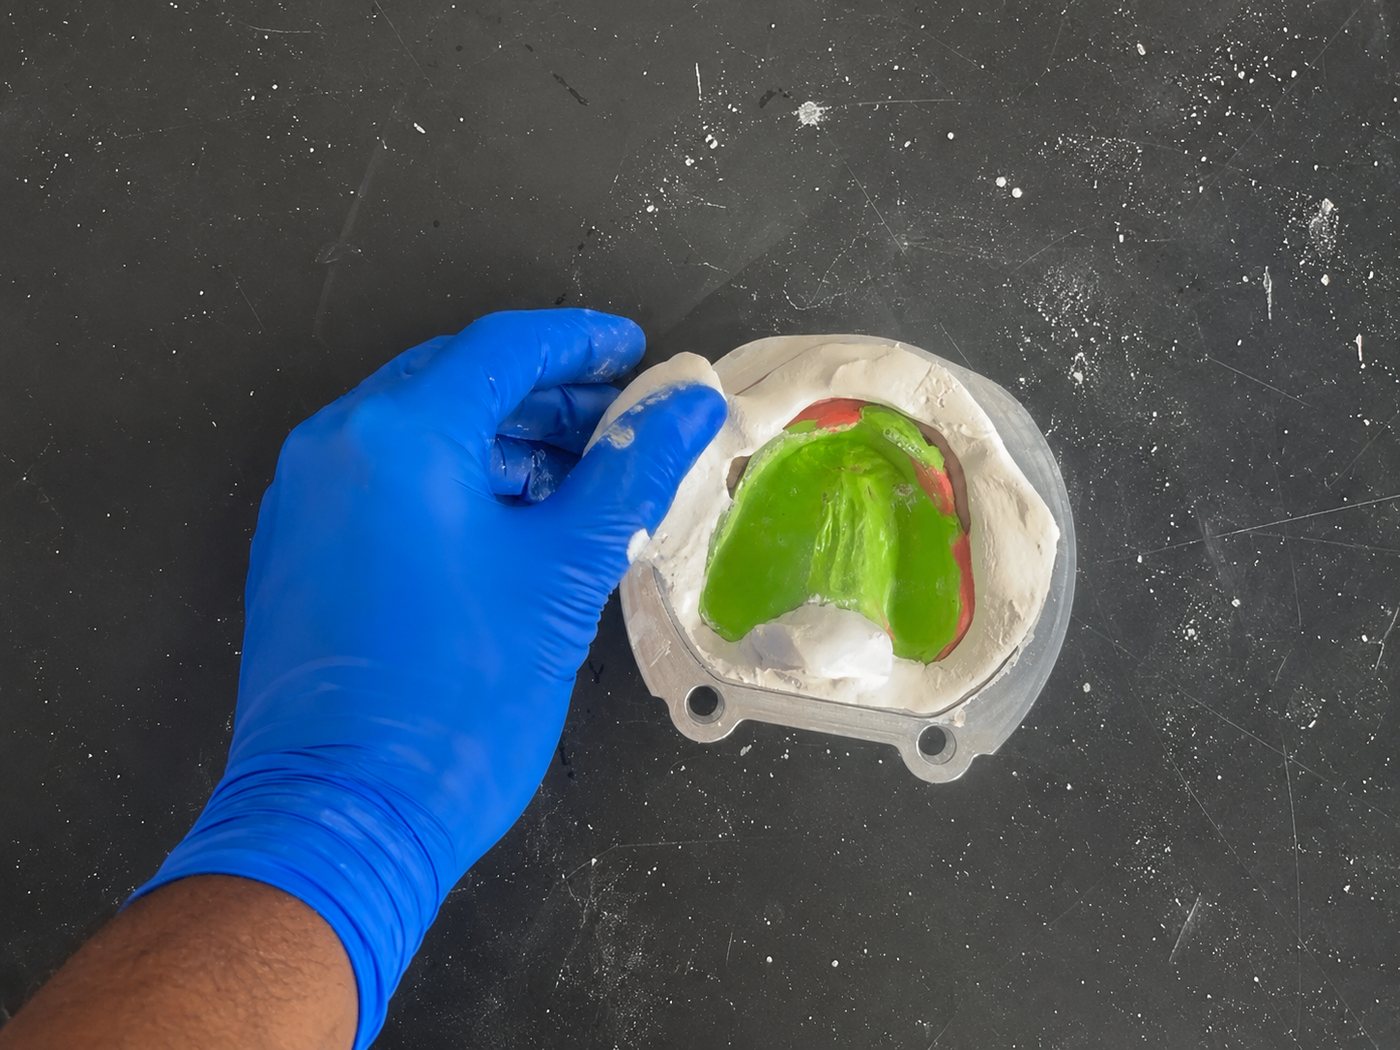
STEP 8
Position the prosthetic within the container, not above.
STEP 9
Remove any excess plaster/stone.
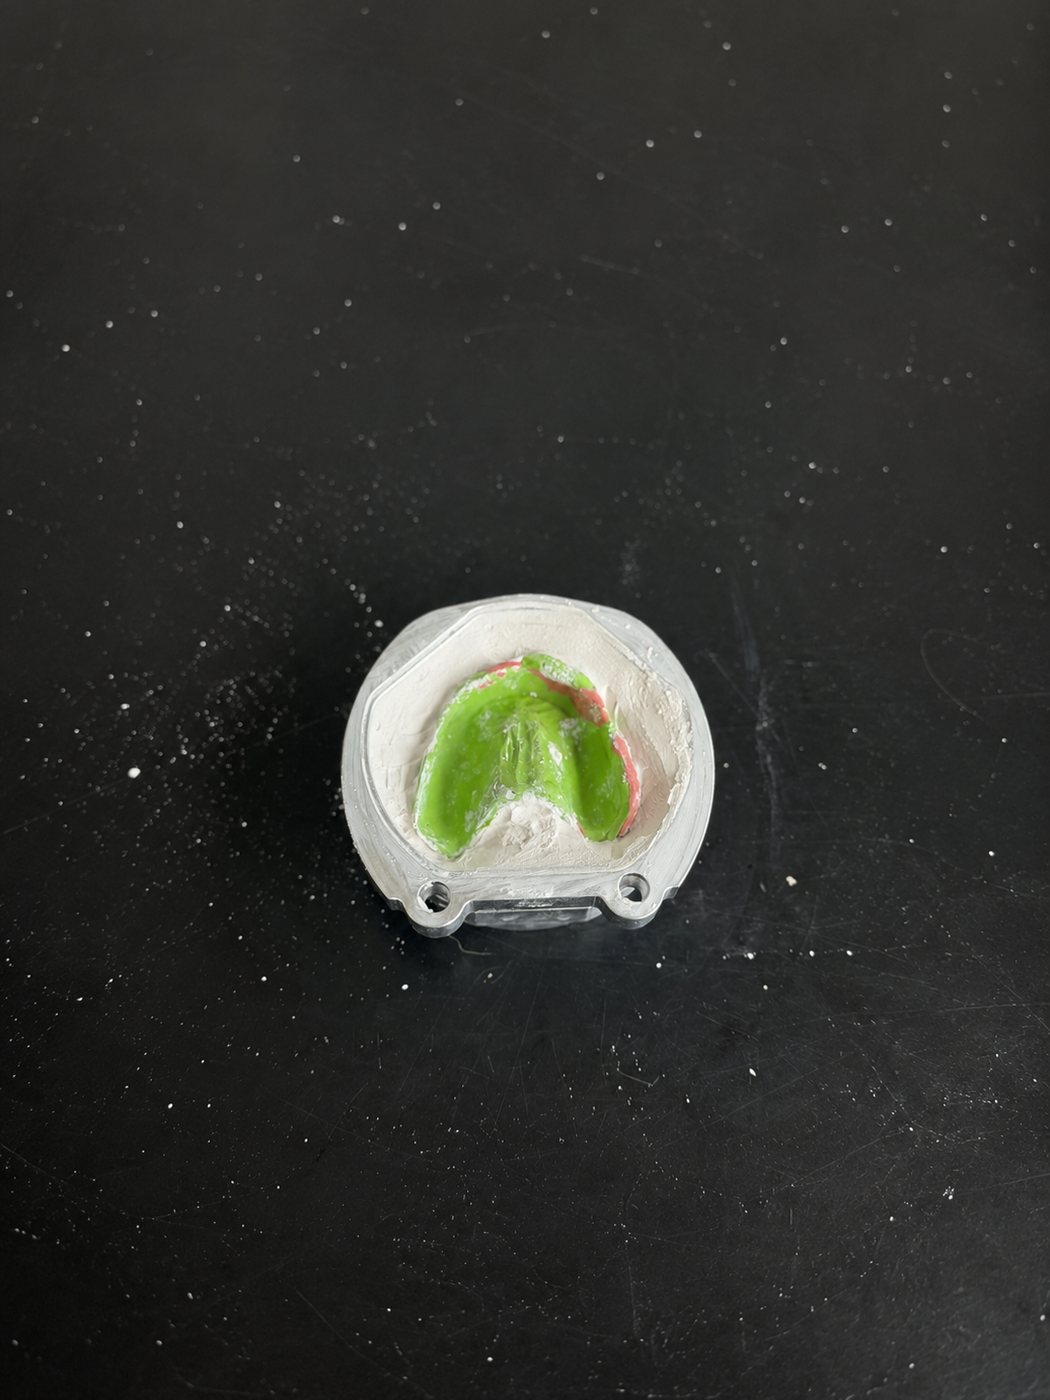
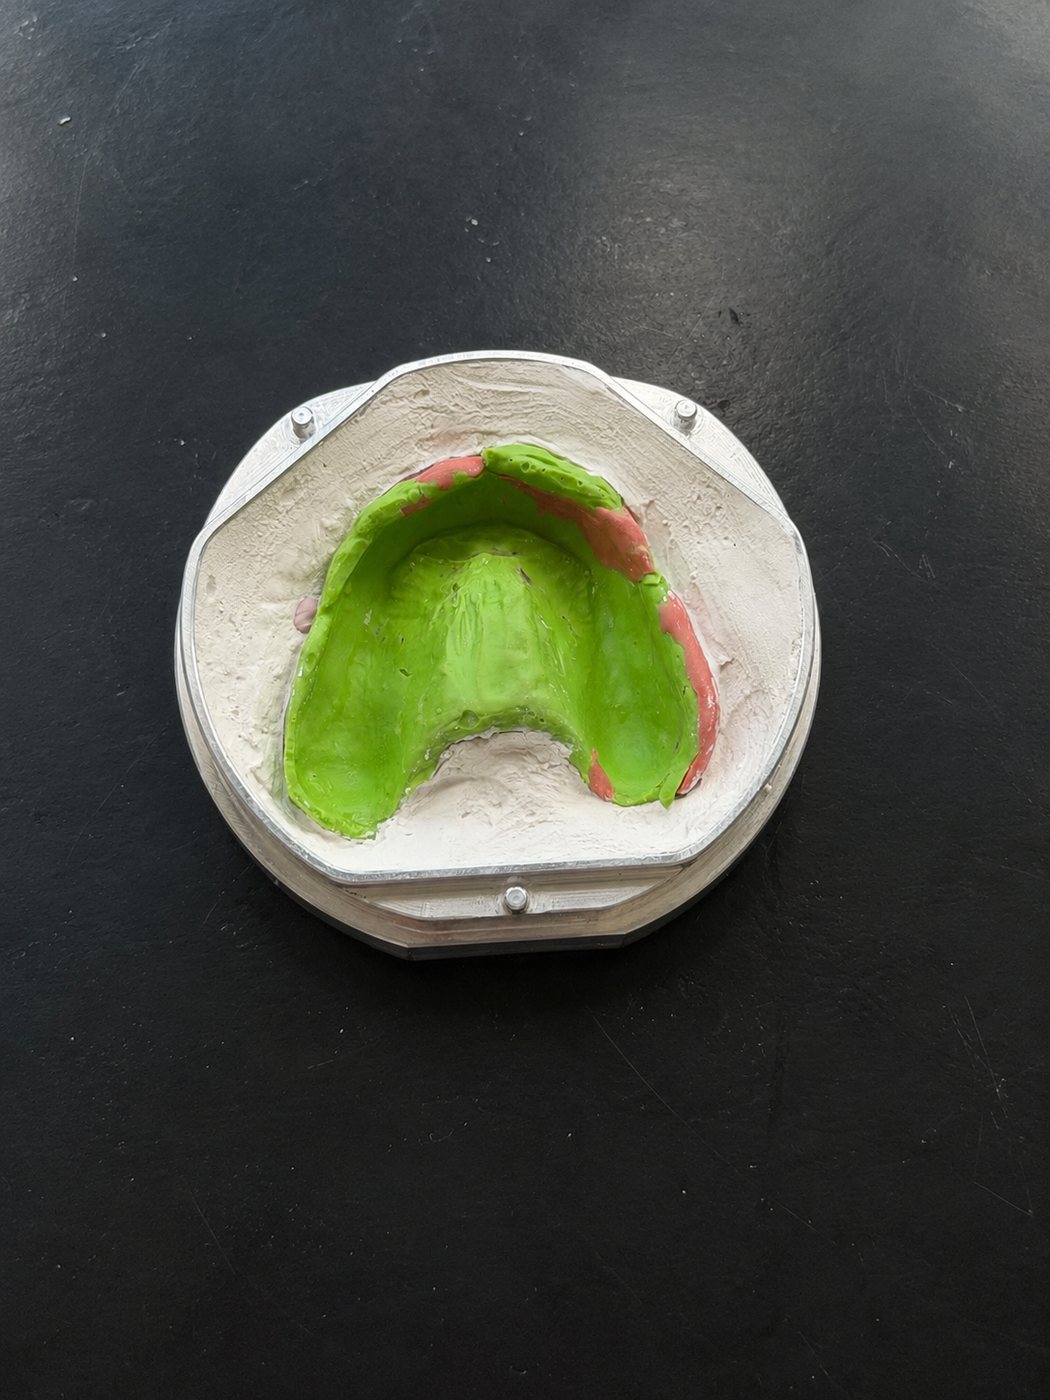
STEP 10
Remove the Flask Adapter from the Flask Base and prepare for scanning.
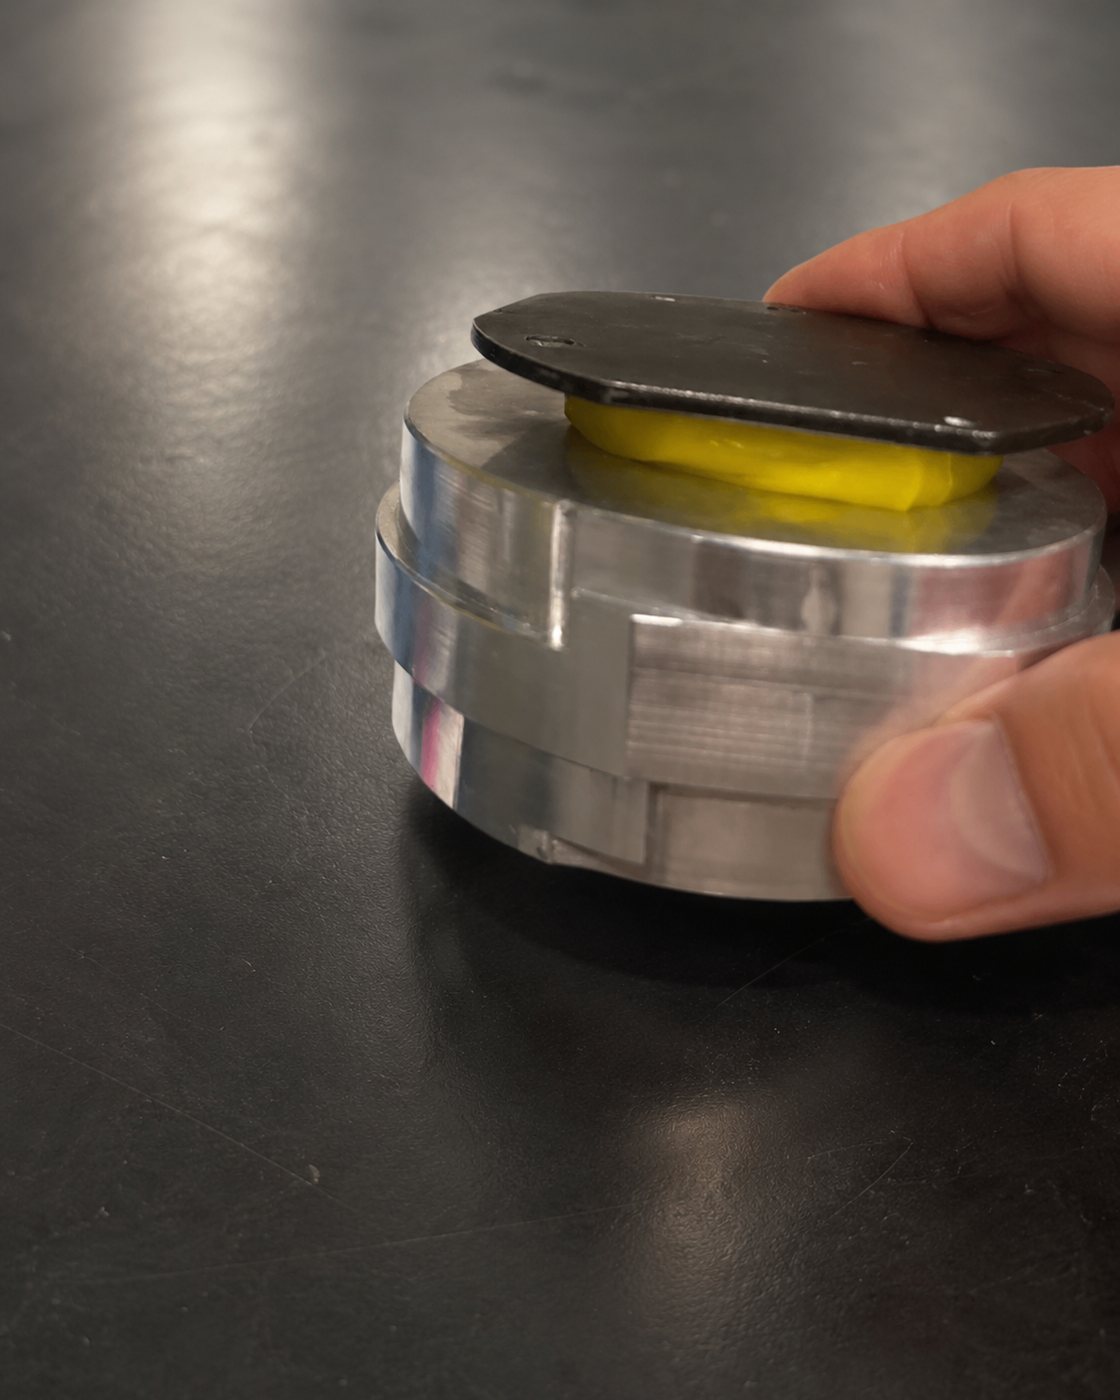
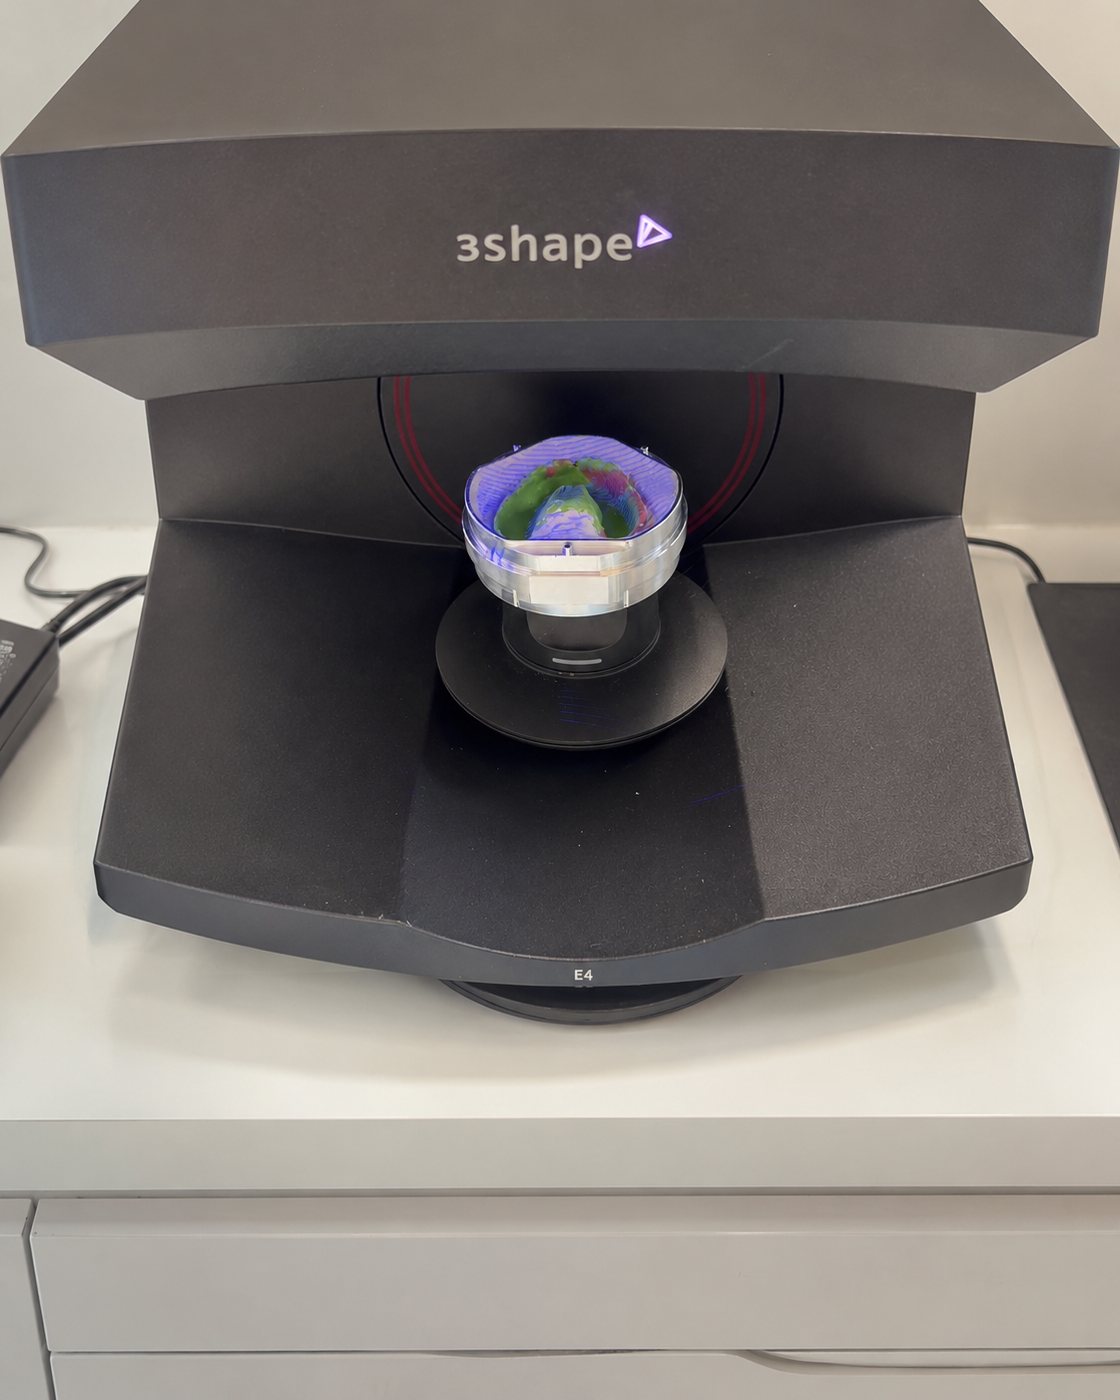
STEP 11
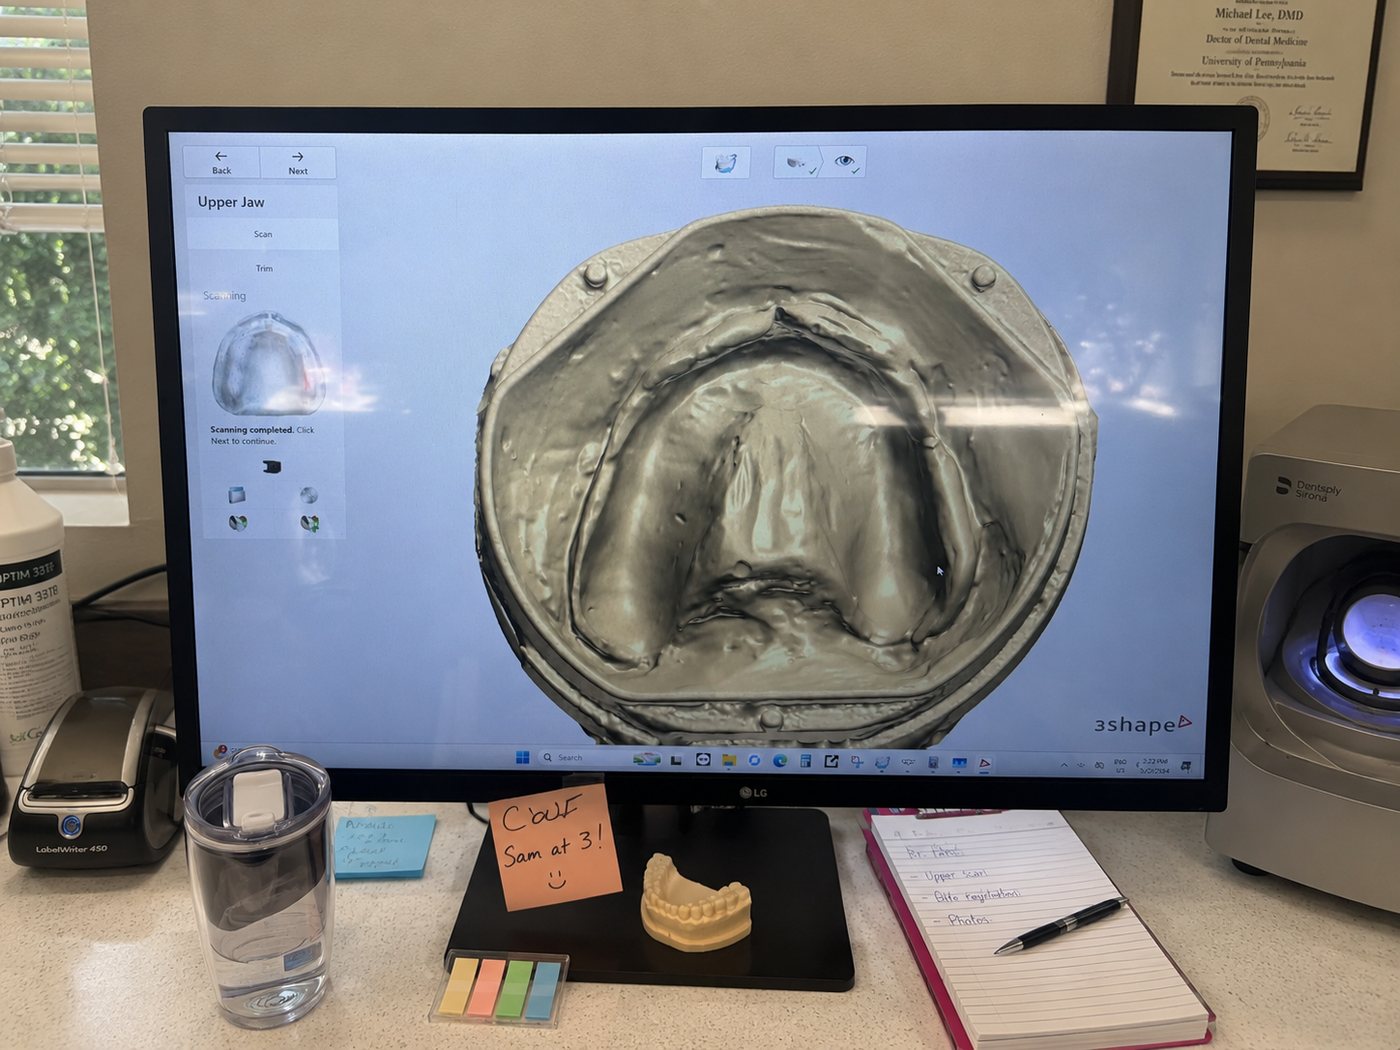
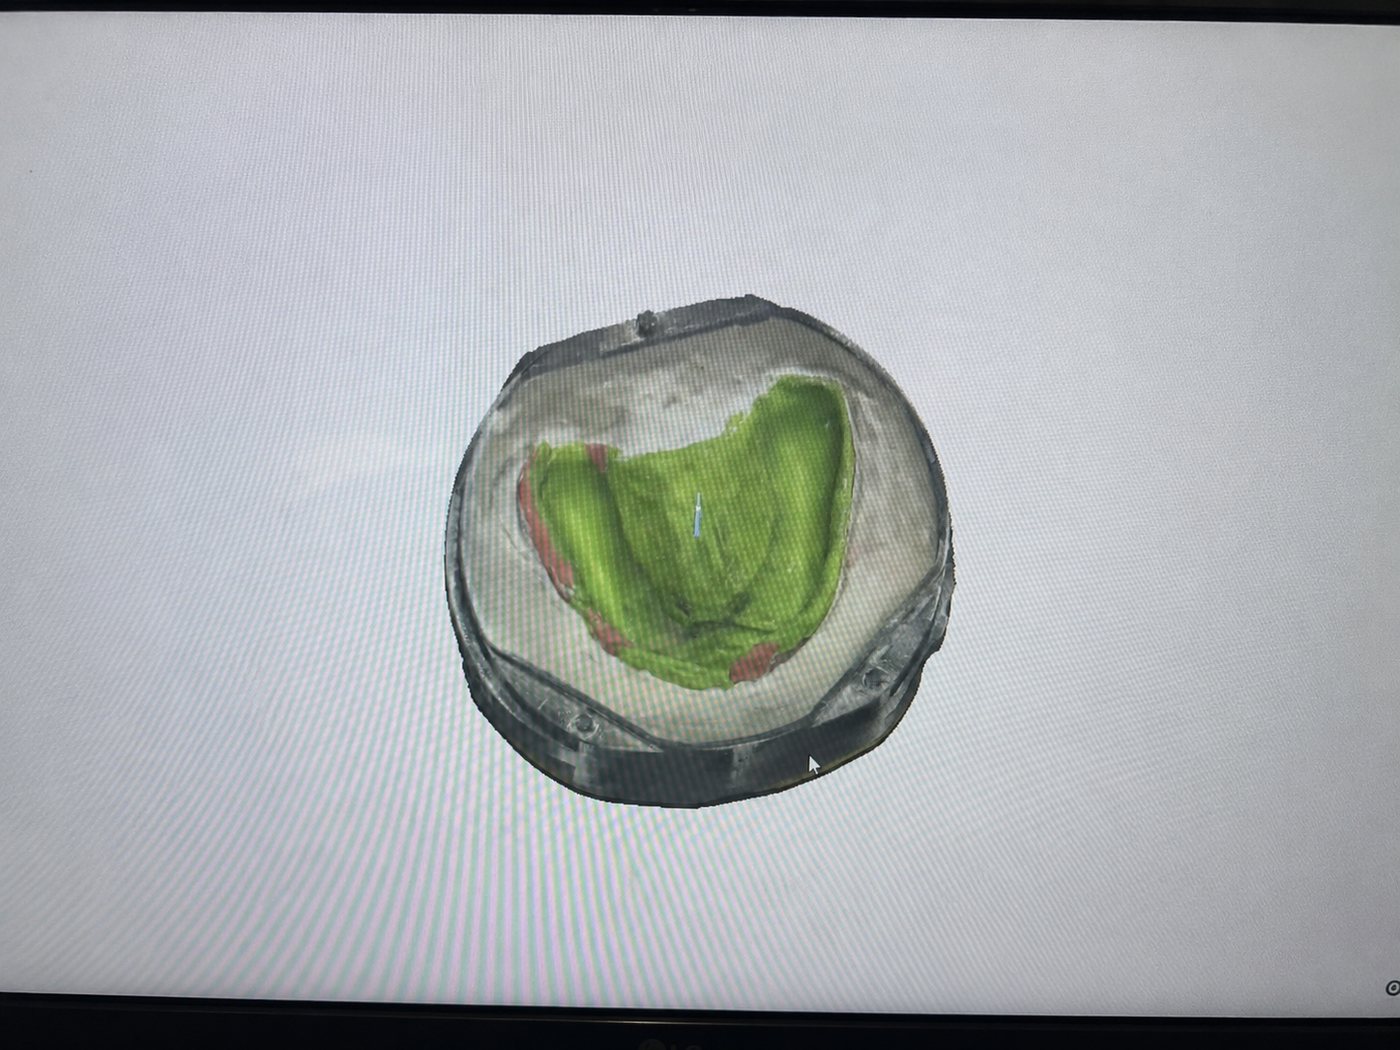
Scan the flask, ensuring all three alignment posts are clearly visible.
STEP 12
Upload the STL file to LabPilot.net (upload DCM files for Express Finishing).
A) For Cold Cure, prepare to add flowable acrylic, then proceed to fill and mill.
B) For Heat cure continue flasking procedure by adding a spacer, like wax, on top of the prosthetic.
This cold-cure guide continues at fill & mill below. The heat-cure flasking steps live on the Heat Cure page.
STEP 25
Place the flask case into the holder/mill.
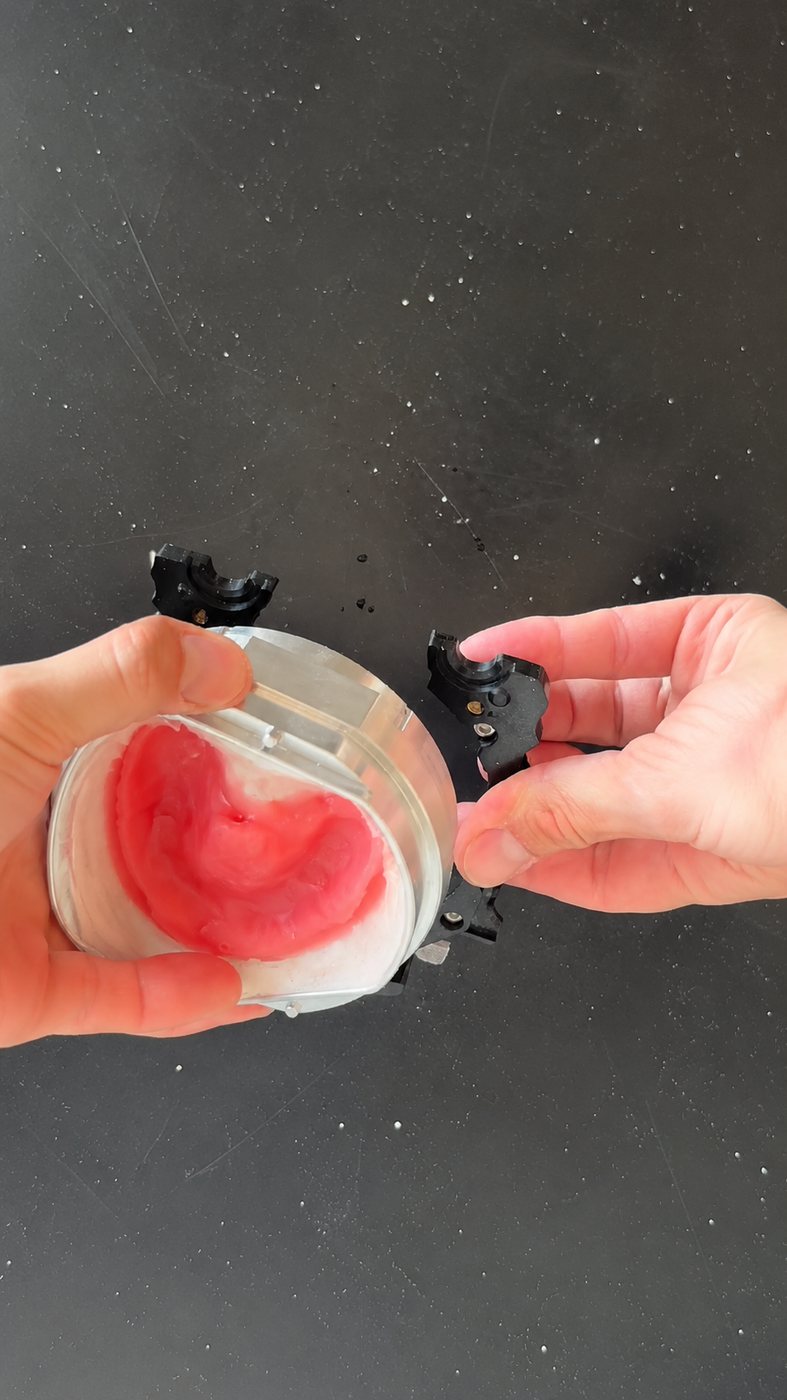
STEP 26
Take the machine file and play it on the machine. If using a Roland machine, ensure you are utilizing VPanel.
You've now completed the LabPilot Process.
Other languages
Scan me to view instructions in other languages.